SarrpPDC 2.2 Installation Instructions
This guide will outline steps necessary to install SarrpPDC.
Applicable Versions
2.2.1
Minimum Software Versions
| Software | Version |
|---|---|
| SarrpDose | 2.2.11 |
Procedure
Prerequisites
- Install SarrpDose 2.2.11
SarrpPDC
- Download and launch the installer of the SarrpPDC software.
- To install SarrpPDC on a customer computer you should follow the on screen prompts of the installer wizard. You should NOT need to change any of the options in the installer; just click Next until you complete the wizard. Once it has installed click Finish. The installer automatically creates a start menu shortcut on the customer computer. To confirm this, open the start menu and you should see a program called SarrpPDC with the Xstrahl X logo.
Running SarrpPDC for the first time
If running SarrpPDC `` for the first time on a new system, you will need to create an empty collimators.json file. This is the new data file for the dose engine that contains all of the collimator information for the system. Below is a starter JSON file that can be used. Copy the contents below
into a new file called collimators.json. Note that the file name must match exactly! IF necessary, change the “sarrp_head_type” entry so that it matches the treatment head type of the user’s
machine (i.e., “4d_ic”, “4d_no_ic”, or “brass_block”). Save this file to the user’s %APPDATA%\Roaming\Xstrahl, Inc\SarrpPDC directory.
{
   "collimators" : {
      "fixed" : [
      {}
      ],
      "variable" : {
      }
   },
   "file_version" : 1,
   "sad" : 350,
   "sarrp_head_type" : "4d_ic",
   "sarrp_version" : 3,
   "scbd" : 300
}
If the system does not have a variable collimator then the “variable” section of the file will remain empty.
Note that you need to ensure that the sarrp_head_type matches what the system physically has. See the SarrpDose installation instructions for possible values.
On startup, you will receive an Error message from SarrpPDC saying that the dose engine could not be initialized because a valid file path could not be found:

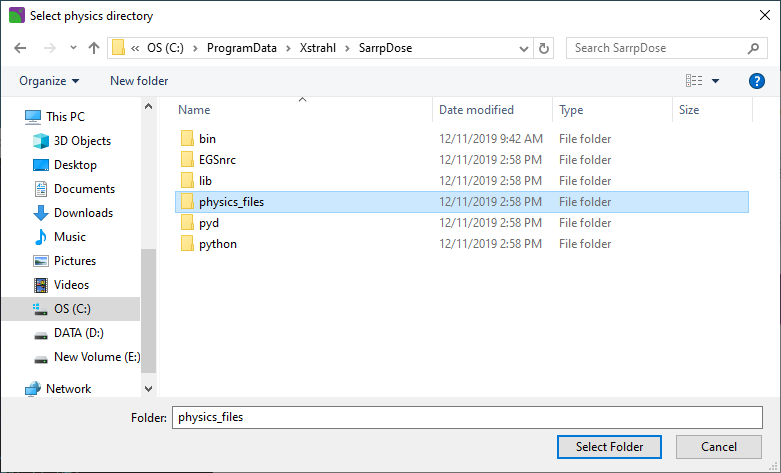
This message refers to the built-in superposition-convolution (SC) dose engine. Select “Yes” and, provided you have installed SarrpDose following its installation instructions, browse to C:\ProgramData\Xstrahl\SarrpDose\physics_files and
select this directory:

If you answer “No” at the previous step, the GUI will immediately exit.
Enabling the Monte Carlo (MC) dose engine
If the SarrpDose installation includes the MC dose engine (see SarrpDose installation instructions), then, to enable the engine in SarrpPDC (and MuriPlan), you must specify valid directory paths in response to the two output messages that follow:
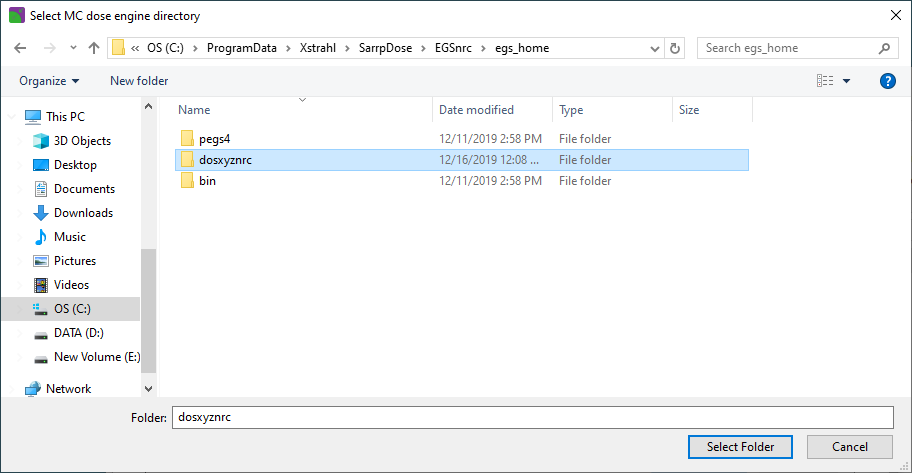
- An Error message indicating that a valid path (EGS_HOME\dosxyznrc) must be specified:

If SarrpDose (with the MC engine) has been installed following its instructions, then browse to C:\ProgramData\Xstrahl\SarrpDose\EGSnrc\egs_home\dosxyznrc and select this directory:

-
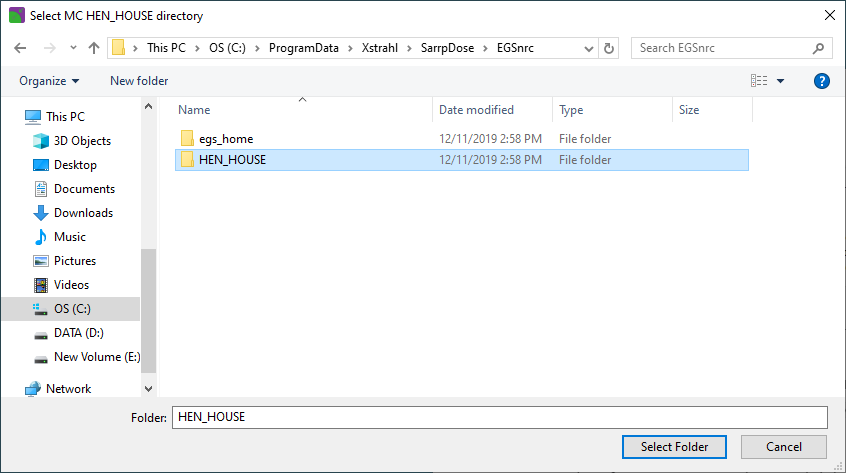
An Error message indicating that a valid HEN_HOUSE path must be specified:

If SarrpDose (with MC engine) has been installed following instructions, then browse to
C:\ProgramData\Xstrahl\SarrpDose\EGSnrc\HEN_HOUSEand select this directory:

Note that if you opt not to select a valid directory in either case above, the GUI will start but the MC dose engine will be disabled.
Finally, two identical Warning messages will be output indicating that the selected collimator is not valid for the given dose engine:

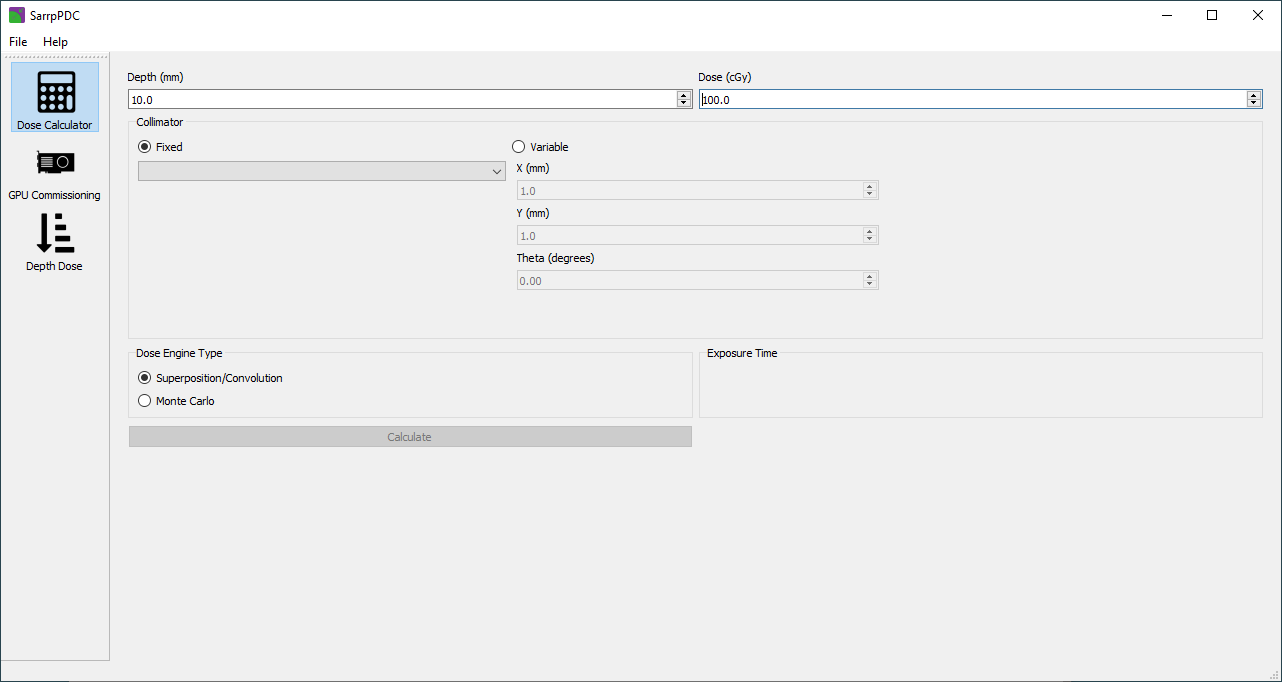
These are symptomatic of the empty collimators.json file. Answer “OK” in both cases, and the GUI will launch:

Collimators can now be added to the collimators.json file by commissioning them.
Visual Studio Redistributable 2019
On some systems it may be necessary to install the Visual Studio 2019 Redistributable. If an error message pops up stating that the files msvcr142.dll and/or msvcp142.dll are missing then this step is necessary.
- Click the above link.
- Open the downloaded file and follow the onscreen prompts to complete the installation. A reboot may be necessary to fully complete the installation.